Bike handlebar wrapping is a crucial skill for any cyclist, whether you’re a seasoned pro or a casual rider. Properly wrapped handlebars not only enhance your grip and control but also add a touch of personal style to your bike. In this comprehensive guide, we will walk you through the process of wrapping your bike handlebars like a pro. We’ll cover everything from selecting the right materials to troubleshooting common issues, ensuring that your handlebars not only look great but also provide optimal comfort and performance.
Gathering Your Materials
Before you start wrapping your bike handlebars, you’ll need to gather the necessary materials. Here’s a checklist of items you’ll need:
| Item | Description |
|---|---|
| Handlebar Tape | Choose high-quality handlebar tape in a color and texture that suits your preferences. Cork, foam, and synthetic tapes are popular options. |
| Bar End Plugs | These small plugs fit into the ends of your handlebars and keep the tape securely in place. |
| Scissors | A sharp pair of scissors will be essential for trimming the tape cleanly. |
| Electrical Tape | This will be used to secure the end of the handlebar tape. |
| Cleaning Supplies | Wipe down your handlebars to ensure they are clean and free of debris before wrapping. |
Preparing Your Handlebars
Before you dive into wrapping your handlebars, it’s essential to prepare the handlebars properly. Follow these steps:
- Remove Old Tape: If you have old handlebar tape, carefully peel it off, starting from the ends. Ensure that any residue is cleaned off, and the handlebars are dry;
- Inspect Your Handlebars: Check for any damage or irregularities in your handlebars. Make any necessary repairs or replacements before proceeding;
- Position the Brake Levers: If your bike has drop bars, position the brake levers in the desired location before wrapping. This will help you determine the starting point for your tape.
Starting the Wrapping Process
Now that your handlebars are prepped, let’s begin the wrapping process:
Anchor the Tape
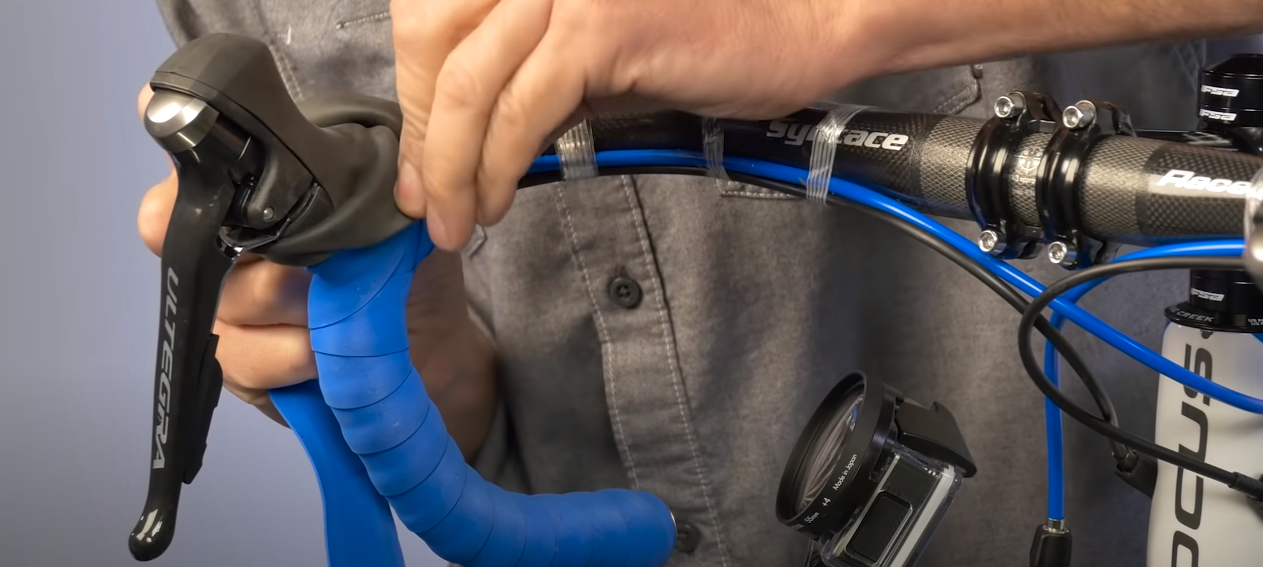
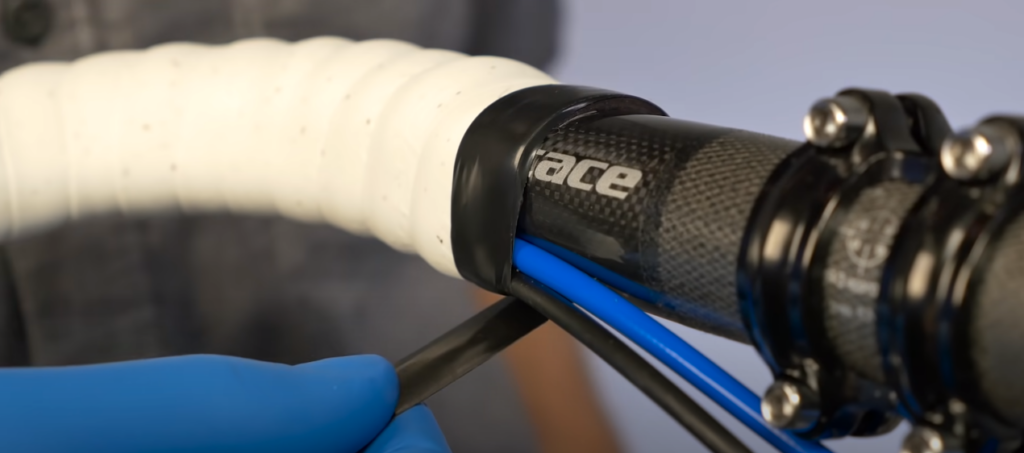
Begin by unrolling a few inches of handlebar tape. To secure it in place, use the bar end plug. This plug is crucial for holding the tape firmly and preventing it from unraveling. Make sure to insert it tightly at the end of your handlebars, ensuring it’s snug and secure. This initial step sets the foundation for the rest of the wrapping process.
Wrap at an Angle
The key to a successful handlebar wrap is to start at a slight angle, approximately 45 degrees, towards the inside of the handlebars. This angle is crucial because it helps create a snug fit and a smooth finish when the wrapping is complete. The angle allows the tape to follow the natural curve of the handlebars, ensuring that it stays securely in place.
Overlap Carefully
As you start wrapping, be mindful of the overlap. With each turn of the tape, make sure to cover about half of the previous wrap. This overlapping technique is essential for several reasons:
- Even Coverage: Overlapping ensures that the handlebar is uniformly covered, leaving no gaps or exposed areas. This is crucial for maintaining a consistent grip and preventing moisture or dirt from seeping in;
- Improved Grip: The slight overlap creates a textured surface that enhances your grip on the handlebars, especially in wet conditions or when wearing gloves;
- Aesthetic Appeal: Careful overlapping results in a clean and professional appearance, making your bike look sleek and well-maintained.
Tension Control
Maintaining the right tension as you wrap the handlebars is vital for comfort and safety. While you want the tape to be snug, avoid pulling it too tight. Overly tight tape can cut off circulation to your fingers when gripping the handlebars, leading to discomfort and potential numbness during rides. To strike the right balance, use consistent tension throughout the wrapping process, keeping it comfortably secure.
Handlebar Drops (if applicable)
If your handlebars have drops (the lower, curved sections often found on road bike handlebars), continue wrapping smoothly, following the contour of the bars. This step ensures that the entire handlebar, including the drops, is wrapped uniformly. Pay close attention to the curvature of the drops, as this can be a bit tricky. Keep the tape at the same angle as when you started, adapting it to the shape of the drops for a seamless finish.
Special Considerations
Depending on the type of handlebars you have, there may be some additional steps to consider:
- Drop Bars: For drop bars, take extra care when wrapping the curves. Make sure the tape conforms to the shape of the bars, and don’t overlap too much to avoid bulges;
- Aero Bars: When wrapping aero bars, ensure that the tape follows the streamlined shape for a sleek and aerodynamic look;
- Bullhorns: If you have bullhorns, wrap from the base towards the ends, ensuring a firm grip on the straight section.
Finishing the Wrap
As you approach the end of your handlebars, it’s time to finish the wrap:
- Trimming Excess Tape: When you have about an inch or two left, use scissors to cut the tape cleanly and squarely;
- Securing the End: To prevent the tape from unraveling, use a small piece of electrical tape to secure the end. Make sure it’s wrapped tightly and neatly;
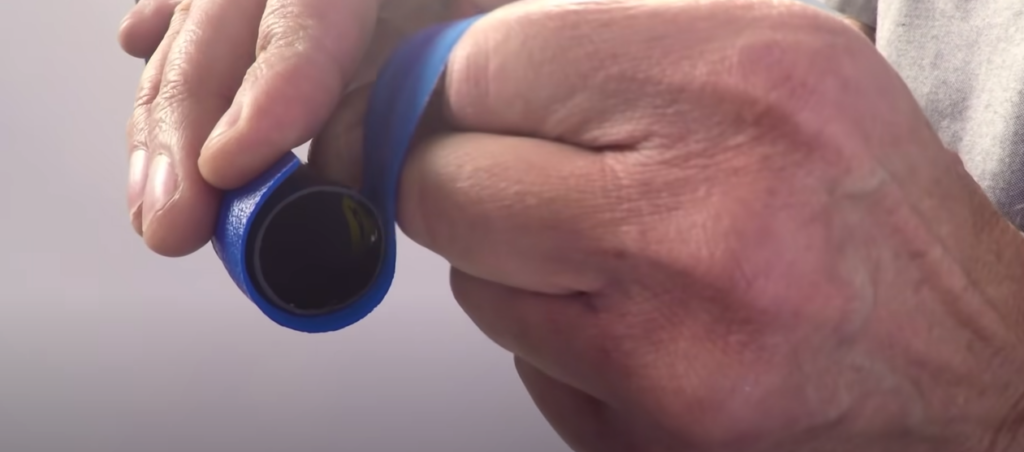
- Insert Bar End Plugs: Push the bar end plugs firmly into the open ends of the handlebars. This not only adds a finished look but also prevents moisture and dirt from getting inside.
Maintenance and Care
Proper maintenance and care of your wrapped handlebars will extend their lifespan and keep them looking sharp. Here are some tips:
Cleaning Your Handlebars
Regular cleaning is fundamental in preserving the quality and appearance of your handlebar tape. After each ride, take a few moments to wipe down your handlebars using a clean cloth or a specialized handlebar tape cleaning solution. This practice helps to remove:
- Sweat;
- Dirt;
- Grime;
- Road debris.
By removing these contaminants promptly, you prevent them from settling into the tape’s texture and causing deterioration. It also ensures that your handlebars remain clean and hygienic.
Inspection for Wear
To maintain optimal grip and comfort, periodically inspect your handlebar tape for signs of wear and tear. Here’s what to look for:
- Tears: Check for any tears or punctures in the tape, as they can worsen over time and compromise your grip;
- Unraveling: If you notice the tape starting to unravel at the ends or along the handlebars, it’s time for replacement;
- Fading: Handlebar tape may lose its color vibrancy over time. While this doesn’t directly affect performance, it can impact the aesthetics of your bike.
Regular inspections, ideally after each ride or at least once a month, will help you catch issues early and address them promptly. If you notice any of these problems, replace the tape to ensure optimal performance and safety.
Protection from UV Exposure
Prolonged exposure to UV radiation from sunlight can cause handlebar tape to fade and deteriorate. To protect your tape from UV damage:
- Store in Shade: When your bike is not in use, store it in a shaded area or cover the handlebars with a cloth or protective cover. This prevents direct exposure to the sun’s harmful rays;
- UV-Resistant Tape: Consider using handlebar tape specifically designed to resist UV damage if you frequently ride in sunny conditions. These tapes are formulated to maintain their color and texture even under intense sunlight.
Handling with Care
Handlebar tape is relatively durable, but it’s still important to handle your bike with care to avoid damaging the tape. Be cautious in the following situations:
- Leaning Against Rough Surfaces: When parking or leaning your bike against rough or abrasive surfaces, place a soft barrier between the handlebars and the surface. This prevents scratches and tears in the tape;
- Transportation: When transporting your bike, ensure it is properly secured to prevent movement that could cause friction and damage to the handlebar tape. Use protective padding or a bike bag if necessary.
Conclusion
Wrapping your bike handlebars is not only a practical skill but also a creative opportunity to personalize your ride. With the right materials and techniques, you can achieve a professional-looking wrap that enhances your grip, comfort, and style. Remember to maintain your handlebar tape regularly, and don’t be afraid to experiment with different colors and textures to make your bike truly your own. Now, armed with this step-by-step guide, you’re ready to tackle your next handlebar wrapping project with confidence.
FAQ
You should maintain consistent tension while wrapping, ensuring the tape is snug but not overly tight. It should feel comfortable when gripping the handlebars.
It depends on your riding frequency and conditions. Generally, it’s a good idea to replace handlebar tape every 6-12 months or when it shows signs of wear, such as tearing or loss of grip.
Yes, you can reuse bar end plugs if they are still in good condition. However, it’s a good practice to replace them if they show signs of wear or damage.
Absolutely! Mixing and matching colors of handlebar tape can add a personalized touch to your bike’s appearance.
If the tape starts to unravel, it’s likely due to insufficient tension or improper securing at the end. Carefully unwrap and rewrap the affected section, ensuring proper tension and securing the end with electrical tape.